Search found 2 matches

by Nano
Sun Aug 12, 2012 8:14 pm
Forum: General Gun, Shooting & Equipment Discussion
Topic: Show your DIY Ideas and Projects
Replies: 157
Views: 105300

Re: Show your DIY Ideas and Projects

While we are waiting on the extended mags to show up for the Beretta Nano I modified 2 mags the same way JayHutch did. These extensions are from Pearce Grips and are for the Taurus TCP. The modification did not take very long. I sure do like the way the mag extension feels. Can't wait to try it out at the range.
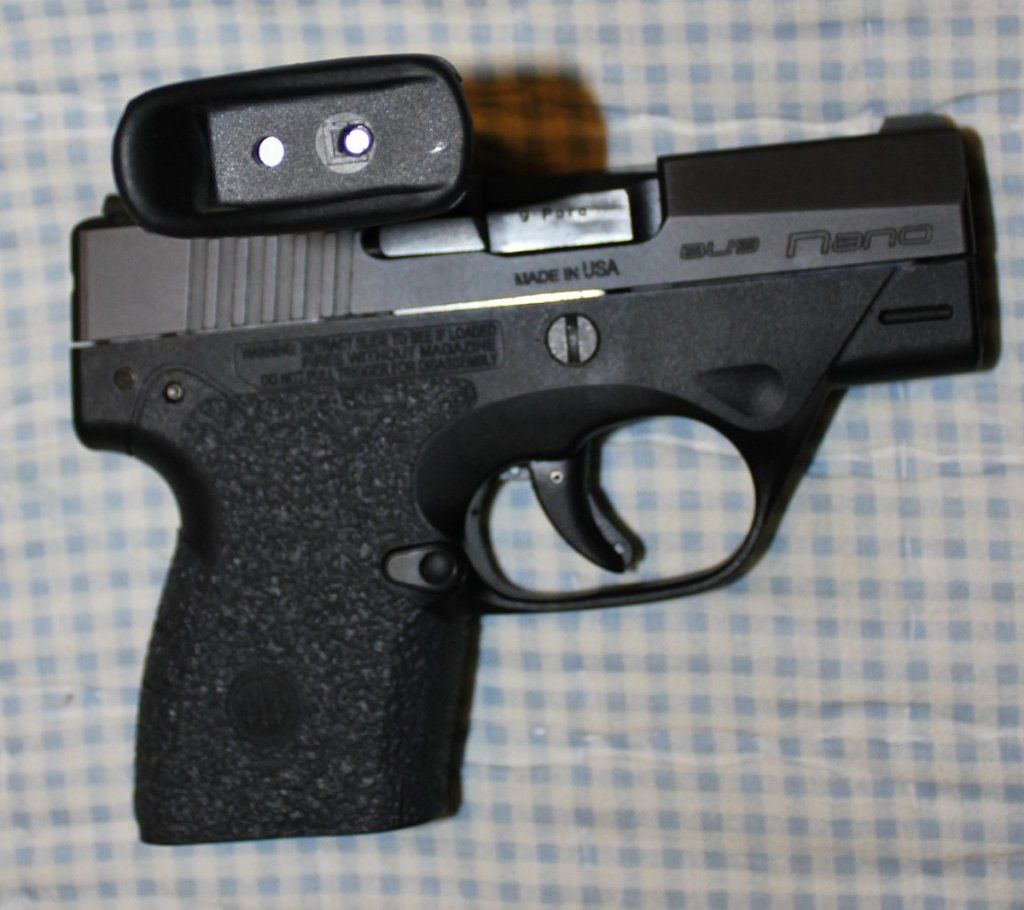
Align the Pearce extension with the front of the Nano mag base plate as shown. Align both sides. A piece of tape on each side helps hold the parts together while you use a #25 drill bit through the Nano base plate to put a deep mark on the Pearce extension. Remove the tape. I used a drill press with a small block to level the Pearce extension while I drilled the hole with the #25 bit.
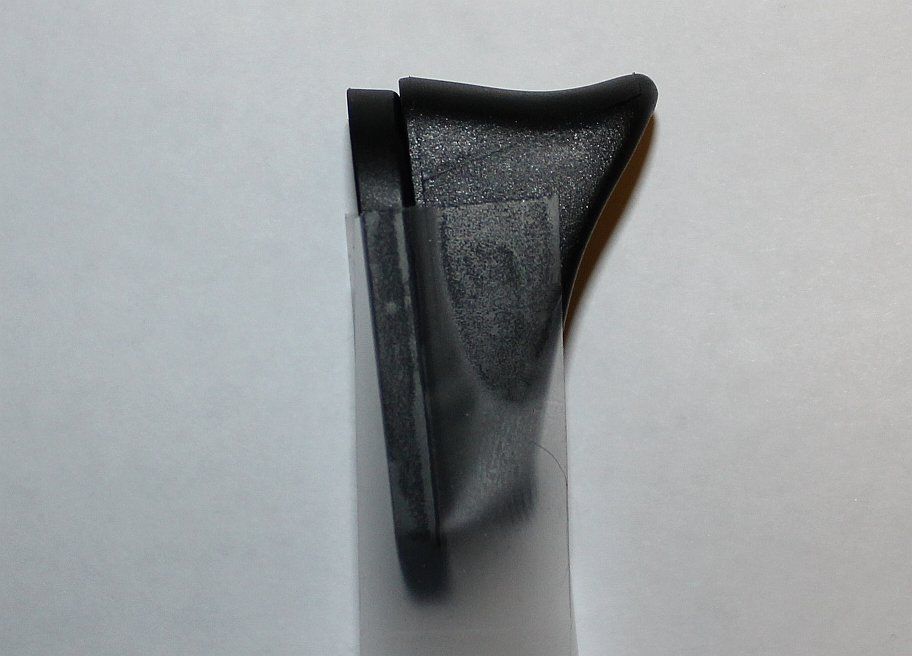
The depth of the Pearce extension must be reduced 0.125" around the rim. This will give an inside depth of approximately 0.10". This will match the old base plate so that the mag can be snapped into the Nano. I tried the oscillating sander method but I could tell it was going to take me until next week to remove that much tough plastic. I used the side of a 6" bench mounted grinder to remove the material a little at a time while continuously checking the depth with a digital caliper. Good luck.Image
Image
Image
Image
by Nano
Sun Mar 11, 2012 6:28 pm
Forum: General Gun, Shooting & Equipment Discussion
Topic: Show your DIY Ideas and Projects
Replies: 157
Views: 105300

Re: Show your DIY Ideas and Projects

This applies only to you who have a Beretta Nano. I, like most folks, have spare keys around that I have long since forgotten what they were used for. I selected one to make a decocker, slide removal tool for my Nano. The Nano has a decocker button, shown at the point of the tool, that is used to deactivate the trigger when pushed. The tool will also turn the cam 1/4 turn to allow the slide to be removed. I can use the tool while it is still on my key ring. It is very simple but handy.
Image

Return to “Show your DIY Ideas and Projects”