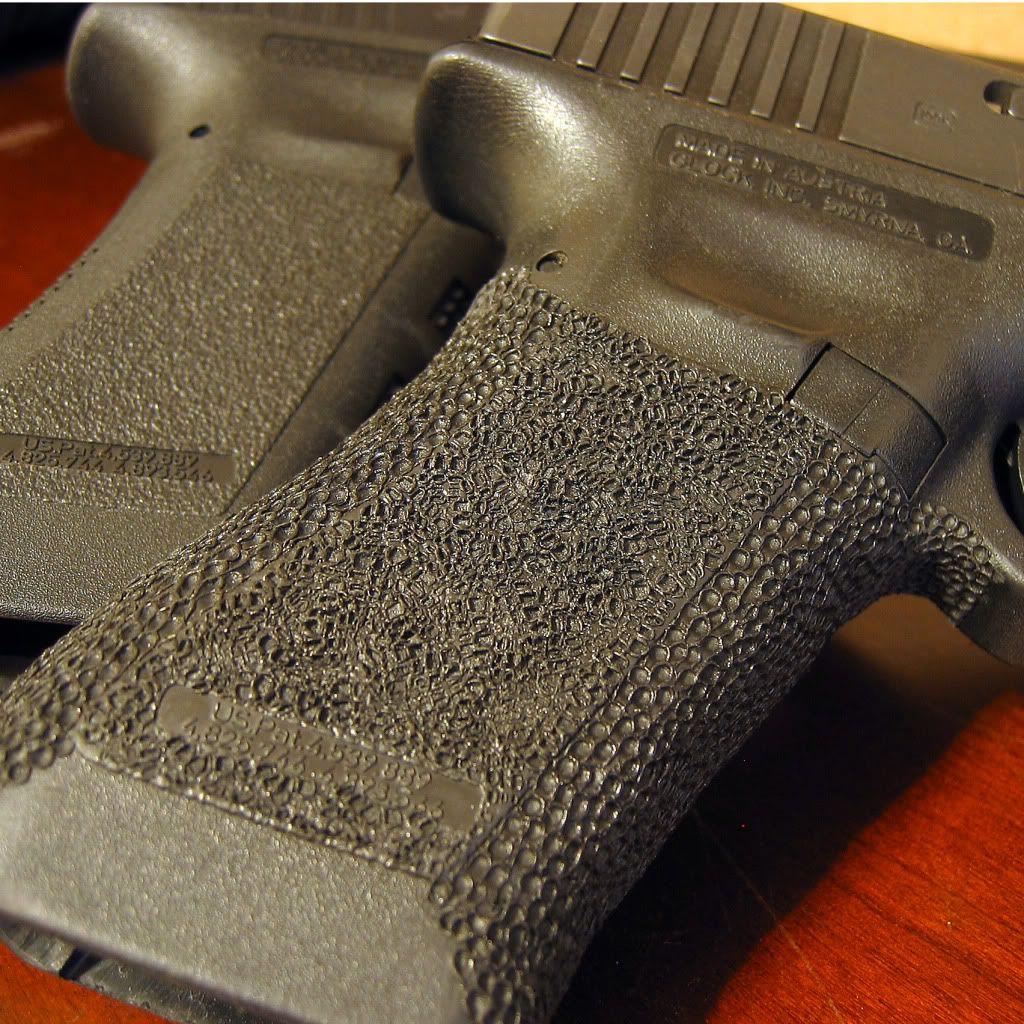
I never go any "deeper" than the base layer of the grip "under" the OEM texture if that makes sense. Take a look at this photo again.lowonair wrote:austinrealtor wrote:I've since done my G27 too (actually sold this G22). The G27 took about an hour start to finish. G22 about 90 minutes because slightly larger and two patterns. The G27 is newer so the side panel patterns were still in good shape and left them alone.lowonair wrote:how long did it take to do the stippling? any pics of how much you sanded off the front and back? did you sand the sides befor doing this? i have a 2.5 gen g36 that i want to try this on.
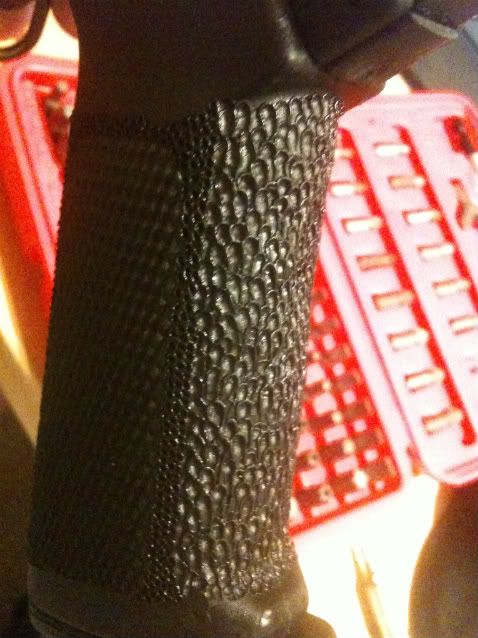
The sanding was fairly minimal - sanded off the raised peaks that form the finger "grooves", then just sanded the original front and back texture to smooth it a bit and leave it roughly same level as the corners, if that makes sense. This just makes it easier to make a uniform pattern with the soldering iron/woodburner tip.
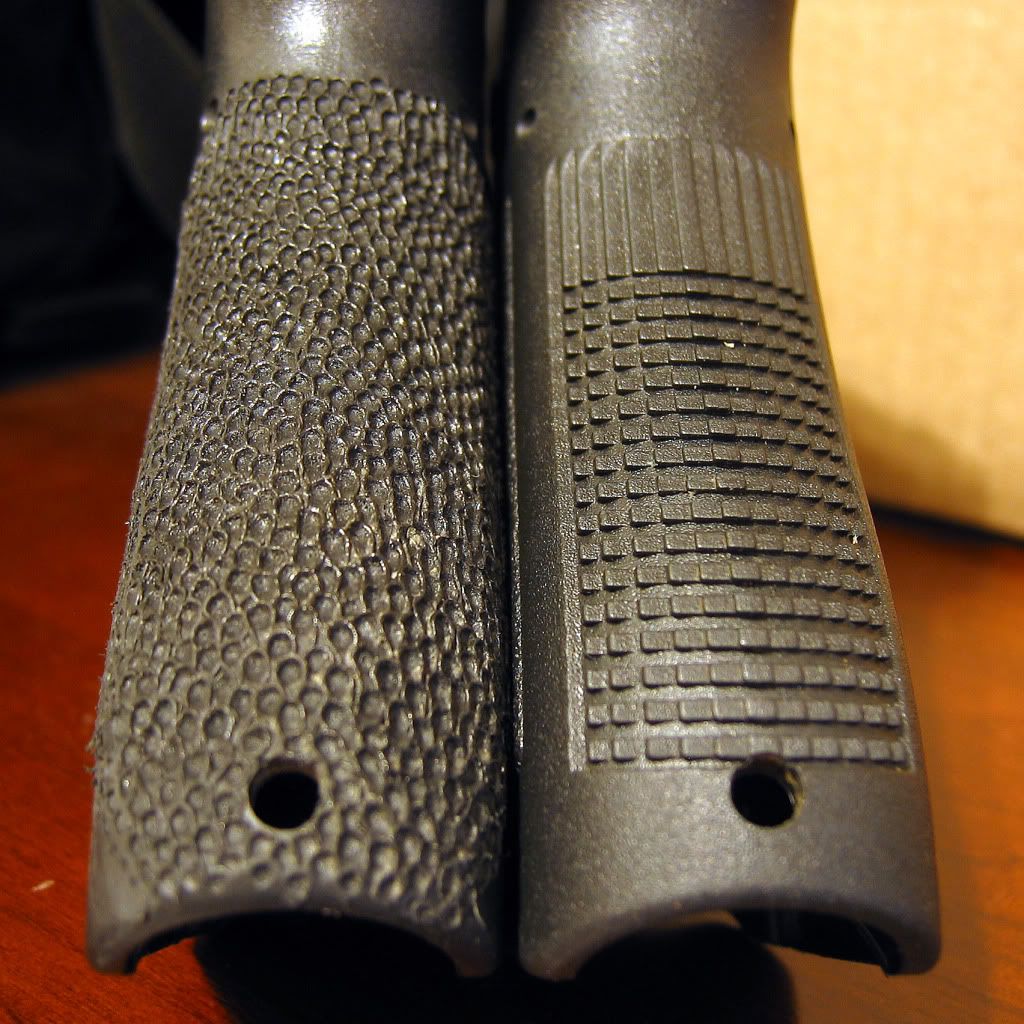
so on the back of the grip you dont sand the texture completely off? seems to me that would take too much off the structure of the polymer. i'm just worried about the little raised grooves on the front and rear and how to do those areas.
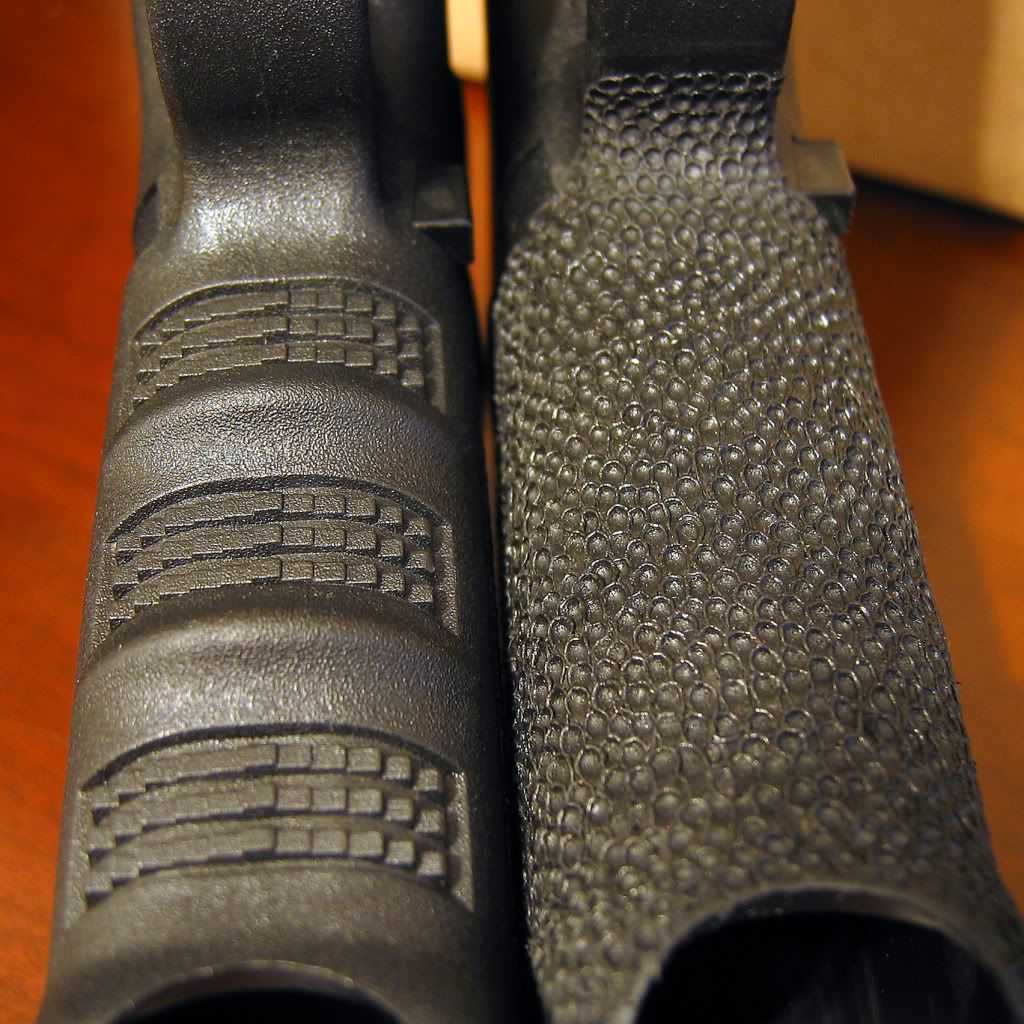
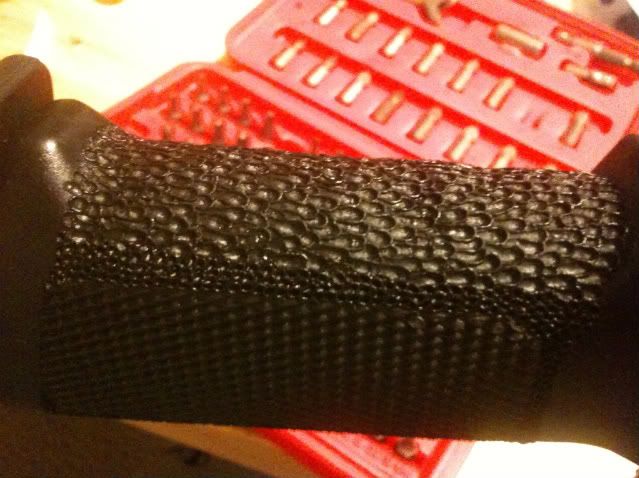
I remove the "bumps" or ridges which form the finger grooves. After that, I sand down slightly the little raised square texture slightly - just enough so that it is uniform enough when I start doing the point & drag stippling effect. I never even get close to that base layer of polymer you see beneath the little square texture nubs.
And caveat for ALL of this is of course that I'm not even mediocre a garage gunsmith and certainly not certified or accredited or in any way whatsoever an "expert" in any of this. Follow my directions at your own risk. Knock on wood, this has worked for me so far.