This is the reloading bench/cabinet I built several years ago. It works very well. While somewhat plain in styling, it is at least not ugly. I always meant to top it off with some crown molding or some kind of hardwood trim, but I just never got around to it.
This is the exterior, doors closed

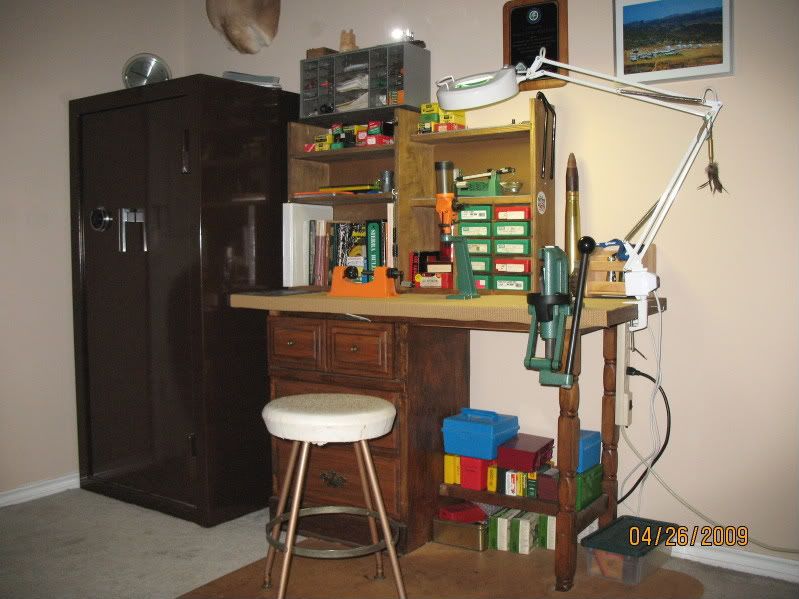
This is the interior, both upper section and lower section lights are switched on

Upper section

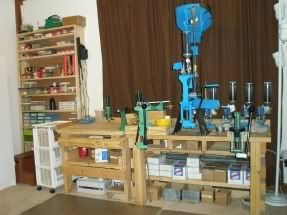
Lower section

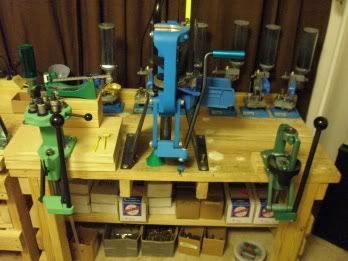
Lower section, details of leg/surface support

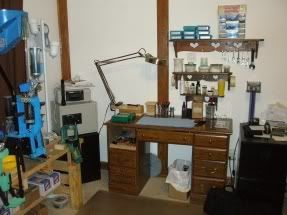
Upper section, details, storage shelf support

IIRC, some of the construction details.
• Built from 3 sheets of ¾ in particle board. This allowed me to put in all the screw holes I wanted without concern as they were easily covered during finishing
• Used 3 or 4 2x4 for the framing. The legs are doubled, glued, and screwed, one is 3.5 in shorter to form a rabbit to support the work surface frame, wood-on-wood
• Work surface is laminated from ¾ and ½ marine plywood (very hard wood) as it is something I had on hand. It’s covered in a maple finish Formica.
• About 3 pounds of screws were used in the construction. I wanted everything heavily glued and screwed into place.
• Double wheeled locking casters allow it to be moved, but it still isn’t easy as it weighs several hundred pounds
• Outlet strip provides power to external open section for a TV, there is also an antenna jack wall plate up there to allow connection to antenna/cable.
• Interior finish is epoxy paint
• Exterior finish is Formica in… wait a minute… wait for it… Winchester Walnut

• Upper section shelves are adjustable via brackets
• Lower section shelves are fixed.
Hope this gives you another idea.